
Pool Filter Cartridge Replacement: How to Match the Right One
Choose the correct pool filter cartridge using the tank model, part number, dimensions and quantity, then install it safely and record clean pressure.
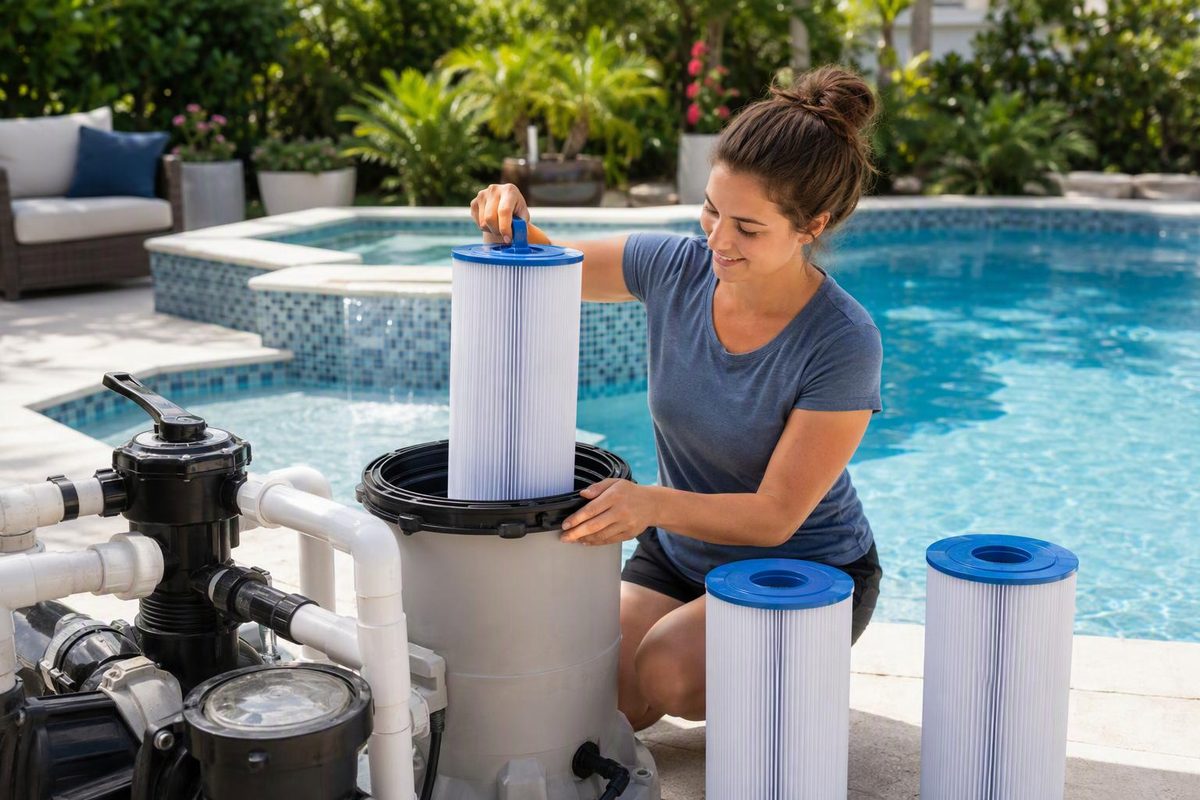
A replacement filter cartridge for a pool must match the filter tank—not merely the pool size or the old cartridge’s appearance. Find the tank model and its specified element part number before buying, then confirm the cartridge quantity, dimensions and end-cap openings. If you are choosing a complete filter rather than replacing its element, use the pool cartridge-filter sizing guide.
Check the three match points; the result tells you whether the cartridge is ready to order.
Cartridge Match Check
A physical resemblance is not enough. Complete each check from the tank manual or a documented cross-reference.
Hayward SwimClear Manual Examples
| Tank | Element | Quantity |
|---|---|---|
| C4030 | CX880XRE | 4 |
| C5030 | CX1280XRE | 4 |
| C7030 | CX591XRE | 8 |
Start With the Filter Tank Model
Photograph the equipment label and record:
- Manufacturer and complete filter model number
- Serial number, if present
- Number of cartridges inside the tank
- Part number molded or printed on the old cartridge
- Filter area in square feet, if shown
Use the tank model to find the manufacturer’s manual or parts diagram. Similar-looking tanks in one product family may require different elements.
Hayward’s SwimClear parts table, for example, specifies four CX880XRE elements for the C4030, four CX1280XRE elements for the C5030 and eight CX591XRE elements for the C7030 (Hayward SwimClear manual). Those combinations apply to the cited Hayward models; they are not general sizing rules for other filter families.
If the tank label, manual and old cartridge disagree, do not order by appearance. Ask the manufacturer or an authorized parts dealer to reconcile the tank model and serial number. The cartridge already in the tank may be wrong.
Confirm the Part Number, Quantity and Physical Fit
Check all of the following before ordering:
- Exact filter models listed as compatible
- Manufacturer part number or a documented cross-reference
- Required number of cartridges
- Outside diameter
- Overall end-cap-to-end-cap length
- Top and bottom opening style and diameter
Treat dimensions as confirmation, not as stronger evidence than the tank model and parts diagram. Small differences in the opening, core or end cap can prevent correct seating even when two cartridges have similar external measurements.
Read pack descriptions carefully. A square-foot figure may describe the complete filter set rather than one element. For the 425-square-foot Hayward C4030, the manual specifies four CX880XRE elements; CX880XREPAK4 is the four-pack. Hayward also says its individual cartridges have the part number molded into the end cap (Hayward CX880XREPAK4 listing).
A third-party cartridge can be considered when its maker provides a documented cross-reference to the exact filter or original element number. A claim based only on approximate length, diameter or filter area leaves too much uncertainty about seating and fit.
Damage and Clean Pressure Determine Replacement
Do not replace a cartridge solely because it looks dirty. Rinse it normally first, then inspect every pleat. Replace an element with holes, tears or excessively worn pleats. Jandy’s cartridge-filter guidance also identifies a hole in the element as a reason dirt may return to the pool (Jandy CV filter guidance and manual).
Pressure is useful only when compared with the clean baseline at the same pump setting. Follow the threshold in the manual for the specific filter:
- Pentair’s 2025 Clean & Clear Plus guide calls for cleaning at approximately 10 psi above the original starting pressure, or when flow drops significantly. With a variable-speed pump, record the RPM with that pressure (Pentair Clean & Clear Plus guide).
- Hayward’s cited SwimClear manual specifies cleaning or replacing the elements at 7–10 psi above starting pressure, or when flow falls below the desired rate.
These examples show why a universal pressure number should not override the filter manual. A reading without the original clean pressure—and the RPM for a variable-speed pump—does not establish how restricted the cartridge has become.
Hayward also provides a model-specific end-of-life check: if pressure after cleaning remains more than 6 psi above the baseline recorded with new elements, replace the cartridges at the next indicated cleaning point. Apply that test only to models whose manual specifies it.
Clean Reusable Cartridges Without Damaging Them
Follow the cartridge and tank manual. Normally, use a garden hose and work from top to bottom, directing water between the pleats. Do not use a pressure washer; Hayward warns that it can damage the element.
Oils and mineral deposits may not rinse away. Use only a cleaner, degreaser or descaling procedure allowed by the manufacturer. Do not improvise an acid mixture.
Pentair’s cited Clean & Clear Plus guide requires oils and cleaning agents to be removed before its specified acid-soak procedure. The guide warns that failing to do so can cause premature cartridge failure. This is a model-specific procedure, so do not transfer its chemical instructions or soaking sequence to another cartridge without checking that product’s manual.
After cleaning, inspect the pleats, end caps, bands and core. A cartridge that remains physically damaged or fails the applicable clean-pressure test is a replacement candidate even if its surface appears clean.
Safe Installation Requires a Fully Depressurized Tank
A filter tank is a pressure vessel, and trapped air can force its lid apart. Use the shutdown, pressure-release, clamp and startup sequence in the exact manual for the filter model.
Before opening the tank, disconnect power to the pump and automatic controls, open the manual air-relief valve, stand clear and wait until the pressure gauge reads zero. Never loosen, tighten or adjust the clamp while the pump is powered or the system is pressurized.
If the manual reserves this work for a qualified professional—or if the clamp, tank, gauge or air-relief assembly is damaged—stop and arrange service.
After fitting the cartridge:
- Confirm each element is fully seated and the manifold aligns correctly.
- Clean, inspect and install the tank seal exactly as directed.
- Reassemble and tighten the clamp according to the model’s stated procedure and torque, if specified.
- Open the air relief and start the pump while standing clear of the filter.
- Close the relief only after the manual’s specified steady water stream appears.
- Check for leaks and normal return flow.
- Record clean pressure and, with a variable-speed pump, the corresponding RPM.
If pressure is immediately abnormal with a new cartridge, shut the system down. Recheck the part number, cartridge seating, manifold, valve positions and return path rather than assuming the element already needs cleaning.
A cartridge captures suspended debris; it does not sanitize the water. Persistent cloudiness after a correctly matched and installed replacement may instead point to circulation or water chemistry.