
How to Test Water Hardness in a Pool or Hot Tub
Learn to measure calcium hardness with a drop kit, calculate ppm correctly, troubleshoot color endpoints, and interpret pool or spa results safely.
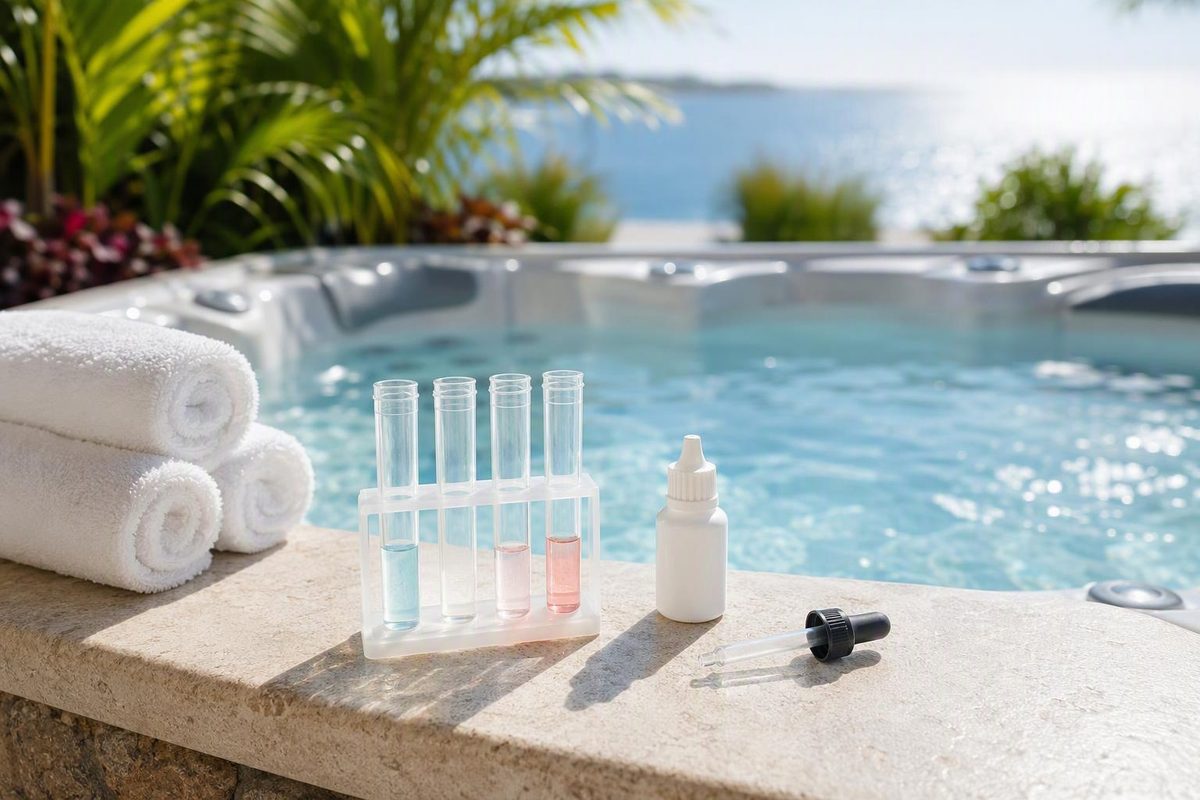
For a pool or hot tub hardness of water test, use a calcium-hardness drop kit, count the titrant drops needed to reach the permanent endpoint, then multiply the counted drops by the kit’s stated ppm-per-drop value. The result is calcium hardness in parts per million (ppm) of calcium carbonate; it is separate from pH, total alkalinity and total dissolved solids.
Check the label before acting. Total hardness includes calcium and magnesium, so a strip that measures total hardness is not automatically interchangeable with a calcium-hardness test (LaMotte). The test, target range and treatment label must all refer to calcium hardness.
Enter your drop count and the equivalence printed in your kit; then choose the applicable reference range.
Calculated Hardness
240 ppmWithin the 200–400 ppm general pool reference.
Sources: calculation method and reference ranges described in the accompanying article; pool and spa ranges are from Taylor, Pentair and Hot Spring guidance.
Use a Drop Kit for Treatment Decisions
Use a calcium-hardness titration kit when the result will determine whether you add a product or replace water. A drop test measures the titrant needed to produce a permanent endpoint color. Strips are faster but usually provide broader color bands; LaMotte describes digital colorimeters as more precise than strips (LaMotte).
Treat one manufacturer’s reagents and instructions as a complete system. Reagent concentrations, sample sizes and ppm-per-drop values vary. Taylor warns against using another manufacturer’s reagents with its comparators and directs users to the specific kit instructions for drop equivalence (Taylor Technologies).
Run the Calcium-Hardness Drop Test
If your kit’s instruction card differs from this sequence, follow the card.
- Check the kit. It should say calcium hardness. Confirm that the reagents are within their printed dates, then find the required sample volume, endpoint color and ppm-per-drop value.
- Circulate the water before sampling. Do not collect the sample immediately after adding treatment chemicals.
- Rinse the test cell with sample water. This limits contamination from tap water or a previous test.
- Take a representative sample. Avoid the surface, returns, skimmers, chemical feeders and fresh-water inlets. LaMotte’s sampling procedure specifies elbow depth—about 15 inches or more below the surface—and at least 6 inches from a wall, followed by prompt testing (LaMotte).
- Fill exactly to the kit’s line. Sample volume determines what each drop represents.
- Add the specified buffer and indicator. Use only the reagent numbers and quantities listed for your kit.
- Add titrant one drop at a time. Hold the bottle vertically, swirl after each drop and count until the sample reaches the stated endpoint. Many tests change from a reddish color to blue, but use your kit’s named colors.
- Confirm the endpoint. Add one more drop. If the color does not change further, the endpoint was the preceding drop; do not count the confirming drop. Taylor specifies this method for identifying a permanent endpoint (Taylor Technologies).
- Calculate the result. Calcium hardness in ppm equals counted drops multiplied by the kit’s ppm-per-drop value.
If the instructions specify 10 ppm per drop and the permanent endpoint takes 24 drops, the result is 240 ppm. Do not assume 10 ppm per drop unless that is the equivalence for your kit and sample size.
Record the date, reading and whether the sample came from the pool, spa or fill source. Test the fill water before planning a water replacement; dilution will not reduce hardness much if the replacement water is similarly hard.
Fix Purple or Drifting Endpoints
The sample stays purple: Copper or iron may be interfering. For its hardness test, Taylor says to add five or six titrant drops before the buffer and indicator, finish the test normally, and include those first drops in the total count (Taylor Technologies). Use this workaround only when your kit manufacturer specifies it.
Small purple dots appear: Taylor identifies these as magnesium hydroxide and says they do not interfere with its endpoint.
The color changes and then drifts back: Continue one drop at a time with thorough swirling. Use the extra, uncounted drop to confirm a permanent endpoint.
Repeat results differ: Recheck the fill line, vertical drop technique, reagent dates and storage. Taylor specifies storage at 36–85°F (2–29°C), out of direct sunlight and away from treatment chemicals. It rates its drop tests at ±1 drop, so a one-drop difference may be normal test resolution.
A strip and drop test disagree: Determine whether the strip measures total hardness. Then repeat the calcium-hardness test with a clean cell and in-date reagents before making a chemical adjustment.
Match the Reading to the Vessel
Pools Commonly Use a 200–400 PPM Reference
A useful general reference is 200–400 ppm calcium hardness. Taylor’s current table, citing Pool & Hot Tub Alliance guidance, lists 200–400 ppm as ideal for pools and waterparks, while Pentair publishes a broader residential range of 150–400 ppm (Taylor Technologies; Pentair). Follow the range for your pool finish and equipment rather than chasing one universal target.
Calcium hardness is only one part of water balance. pH, total alkalinity and temperature also affect whether calcium carbonate stays dissolved or forms scale. White deposits do not prove that hardness alone is excessive. On plaster, use deposit shape, location and finish history to distinguish ordinary scale from calcium nodules.
Spa Targets Can Differ Sharply by Manufacturer
Start with the spa manual. Taylor’s general spa reference is 150–250 ppm, but some manufacturers specify much softer water. Hot Spring’s calcium-reduction guidance calls 25–75 ppm acceptable and recommends its proprietary calcium-removal product or a soft-water source when needed (Hot Spring). Applying a generic spa target to that equipment would be a mistake.
Warm water is more scale-forming, particularly around a heater. Evaluate hardness with pH, alkalinity and temperature rather than treating it as an isolated pass/fail value.
Act Only Against the Correct Target
- Within the range specified for the pool or spa: Record the result; do not adjust hardness.
- Low: Confirm with a second test. If correction is required, calculate the calcium-hardness increaser dose from the actual water volume, current reading, target and product strength. Follow the label, circulate and retest before adding more.
- High: Test the source water first. Evaporation leaves calcium behind, so repeated top-offs can raise hardness. Lowering it generally requires replacing some water with lower-hardness water or using a treatment method approved by the vessel manufacturer. Check drainage restrictions and the risks of draining the pool or spa before proceeding.
- High without scale: Do not make a large correction from hardness alone. Check pH, total alkalinity and temperature, then assess overall water balance.
- Scale, cloudy water or restricted heater flow: Stop blind additions. Verify the reading and inspect affected equipment. Excess calcium saturation can cause cloudiness and deposits, while low calcium hardness can contribute to aggressive water, especially in plaster pools (LaMotte).
Keep hardness increaser, acid and sanitizer in their original containers and separated from one another. Never mix pool or spa chemicals; add each product only as its label directs.